How to Install Your Wardrobe End Panel
Install Your Wardrobe End Panel
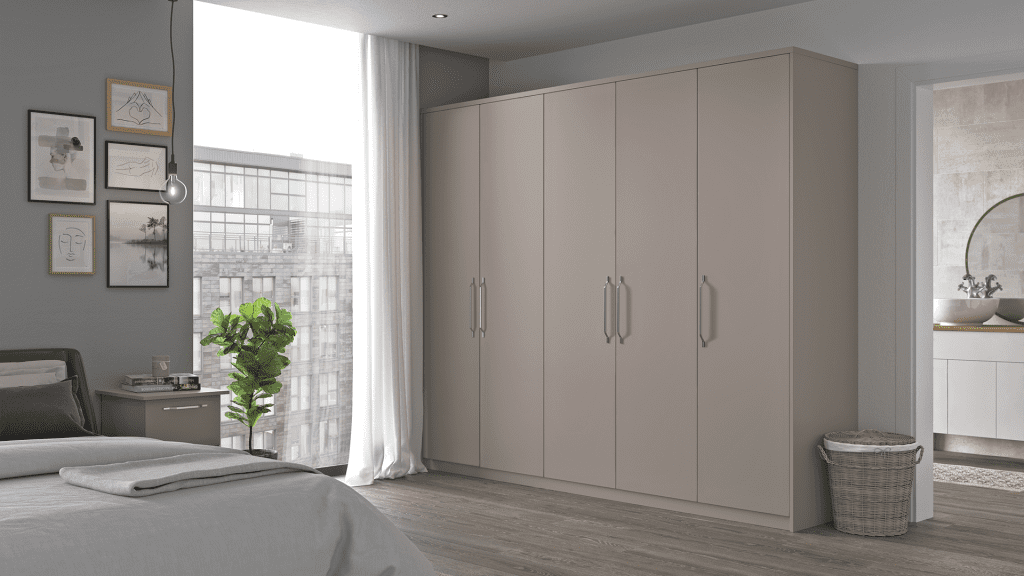
Built-in wardrobes are a fantastic way to increase space in your room and give it a completely fresh feel. Built to make the most of the space and shape of your room they are ideal if you are not looking for a wall-to-wall wardrobe. The option of end panels in our fitted wardrobes are a great solution for project completion and extra stability. Enabling you to position your fitted wardrobe in a range of different spaces and positions, end panels in our wide collection of fitted wardrobes come in various finishes that can be installed effortlessly.
Whether you have installed a wardrobe yourself before or it is the first time, just follow our step-by-step guides and view our instruction videos or get in touch with our experts for guidance directly.
End Panels?
An end panel is the side of a wardrobe. You may wish to have one side of your wardrobe as an existing wall in your bedroom and have an end panel on the other side of your wardrobe. This gives you more options on design, shape, and the desired width of your wardrobe.
Our Perfect Bespoke Made To Measure Wardrobes
- Measure – Follow our guides on how to measure the space of your room accurately for a perfect fit.
- Design with our configurator
- Order and installation
How to Use
Use our configurator to design your wardrobe and view it in real time. Here you can add all the extras you require at each stage so there are no hidden costs or surprises upon completion.
Our configurator allows you to:
- Add your wardrobe dimensions
- Choose a range of frame
- Number of doors
- Door design
- Door panel material
- Frame colour
- End panels if required
- If you require liners around the door
- Interior layout
- Option to add standalone furniture
- Review the breakdown and image of your bespoke built wardrobe
Once you are happy with your bespoke designed wardrobes you have created using our configurator, place your order online for direct delivery.
However, if you are not 100% sure on your measurements, why not take advantage of our design and installation service. Book a free design visit.
End Panel Installation Guide
Measure where you want the end panel to come to – set the position of your end panel and mark the wall.
Using a level, draw a vertical line on the wall at the position
Place your end panel in position against your line, marking fixing points in the centre and 150mm from top and base.
Do a final check of the position of the panel and fixing points where the marks are.
Drill the holes carefully and then fix the panel in position.
Get in Touch Today
At Glide & Slide, our customers are always our main priority. If you have any queries or are in need of assistance, please don’t hesitate to get in touch with our team!